
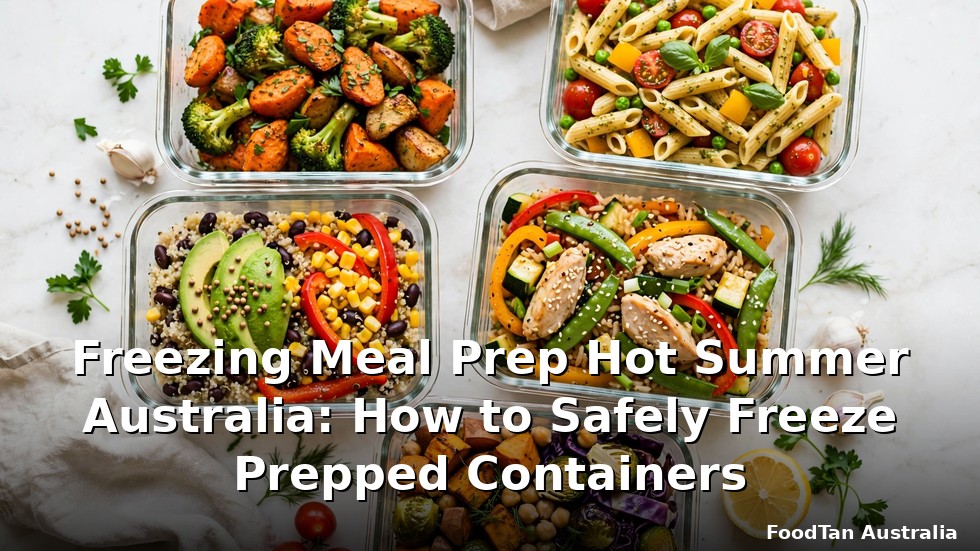
Freezing Meal Prep Hot Summer Australia: How to Safely Freeze Prepped Containers
There is a special kind of dread that hits around 2pm on a 39-degree day in January, when you remember the big batch of bolognese you cooked this morning is still sitting in pots on the stove. In winter you could get away with being a bit casual about cool-down times. In an Australian summer, you can’t. Heat is the enemy of every shortcut in meal prep, and the freezer — used properly — is your best defence.
This is a practical, plain-language guide to freezing meal prep hot summer Australia-wide: the cool-down rules, the containers actually worth buying, the fridge and freezer settings that matter, and the thawing habits that keep your food safe when the mercury won’t drop below 30 overnight. No scare tactics, no lab-coat jargon — just what works in a real Aussie kitchen.
Whether you’re batch cooking for the week ahead or stashing away slow-cooker portions for the months when you’d rather not turn the oven on, getting the freeze right means your future self gets to eat well instead of playing food-safety roulette. Let’s get into it.
Key Takeaways
- Cool it fast, freeze it fast. Get cooked food out of the temperature danger zone quickly — spread it shallow, and get it into the fridge or freezer within a couple of hours, faster on stinking hot days.
- Portion before you freeze. Freeze in single-meal containers so you only thaw what you’ll eat. Refreezing thawed meals is a habit worth breaking.
- Keep the fridge at 5°C or below. Check it with a cheap fridge thermometer, especially in summer when the compressor is working overtime.
- Thaw in the fridge, never on the bench. Move tomorrow’s meals from freezer to fridge the night before — summer bench tops are not a thawing strategy.
- Label everything. What it is and when you froze it. Future you has no idea what that mystery orange container holds.
Why an Australian Summer Changes the Freezing Game
Most meal prep advice online is written for climates where summer means 25 degrees and a light breeze. Ours means the inside of your car hits 60 degrees, your kitchen doesn’t cool down until midnight, and the power grid groans every afternoon. All of that matters for food safety, because bacteria love exactly the conditions an Aussie summer provides: warmth, moisture, and time.
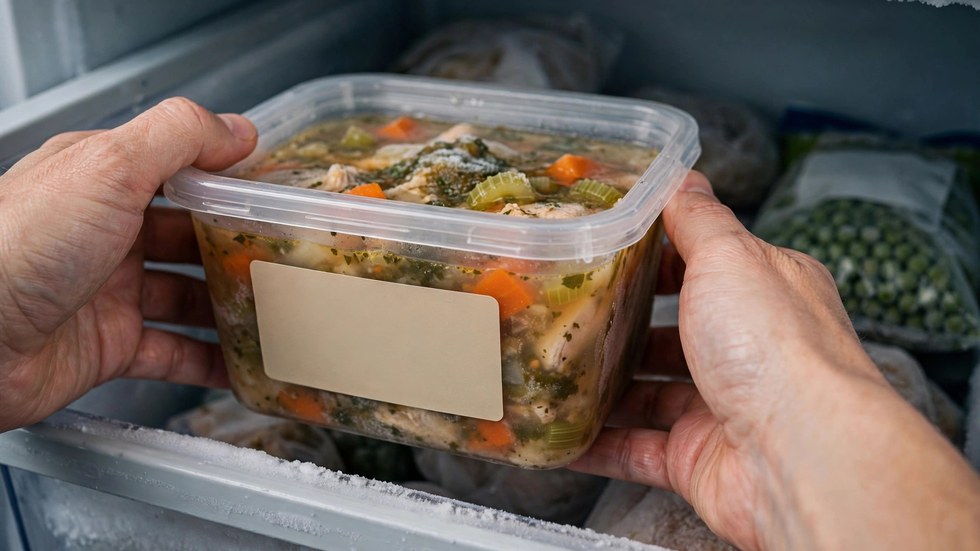
The practical upshot is simple. Every step of your prep — the cool-down, the drive home from the shops with frozen goods, the thaw on the bench — has a shorter margin for error between December and March. That doesn’t mean you need to be paranoid. It means you need a system, and you need to actually follow it on the days when you’re tempted to leave the lasagne “cooling” on the stove while you duck out for arvo drinks.
Think of summer meal prep as winter meal prep with the safety margins tightened. Same recipes, same containers, same freezer — just quicker transitions and a bit more respect for the heat. Once the habits are in place, they take no extra time at all.
The car trip nobody plans for
Here’s a scenario that ruins more meal prep than any recipe failure: you do the big Woolies or Coles shop, load up on chicken, mince, and dairy, then stop for a coffee or get stuck in traffic while it’s 37 outside. By the time the cold stuff hits your fridge, it’s been sitting in a hot boot for an hour.
In summer, treat the drive home as part of your food-safety routine. Take an insulated bag or esky, and on genuinely hot days, throw in a frozen water bottle or two — they double as ice bricks and drinking water later. Put the cold shopping away first, before you unpack the pantry stuff. It’s a small habit that costs nothing and saves the entire week’s prep from starting on the back foot.
Freezing Meal Prep Hot Summer Australia: The Step-by-Step Safe Method
This is the core routine. Follow it every time you batch cook, and summer freezing becomes boring in the best possible way.
Step 1: Cook as normal, then cool it down fast
The single most important moment in safe freezing is the hour or two after cooking. Food sitting warm on the stove is sitting in the range where bacteria multiply fastest, and a hot kitchen in January keeps it there longer.
Speed up cooling with a few simple moves:
- Spread it shallow. Tip that big pot of curry or bolognese into a wide baking tray or a couple of shallow containers. More surface area means faster cooling — a deep pot can stay warm in the middle for hours.
- Stir occasionally. If you’re around, give it a stir every 15 minutes or so. It evens out the temperature and knocks a surprising amount of time off cooling.
- Use the bench, then the fridge. Let food cool on the bench until it stops steaming, then get it into the fridge. You’re aiming to refrigerate within a couple of hours of cooking — and on extreme heat days, sooner is better.
- Don’t put a giant hot pot straight in the fridge. A huge mass of hot food warms everything around it. Divide it first, then refrigerate the portions.
A fan pointed at the trays helps enormously on still, humid days. Low-tech, but it works.
Step 2: Portion into single meals before freezing
Freeze in the portions you’ll actually eat. One big family-sized tub of stew sounds efficient until you’re thawing four serves to eat one, then wondering what to do with the rest. Single-serve containers mean you thaw exactly what you need, and nothing goes through the freeze-thaw cycle twice.
For households, freeze a mix: mostly single portions for work lunches and solo dinners, plus a couple of double portions for nights when two of you are home. Label the doubles clearly so nobody thaws a double thinking it’s a single.
Step 3: Leave headspace and seal properly
Soups, stews, curries and anything saucy expand as they freeze. Leave a couple of centimetres at the top of each container or the lid will pop — or worse, the container cracks and you’ve got a freezer full of frozen bolognese welded to the shelf. Press out excess air from freezer bags, lay them flat to freeze, and once solid you can stack them like files. Flat-frozen bags are the space-saving trick that turns a small freezer into a serious meal bank.
Step 4: Label like your memory depends on it (it does)
Every container gets two things: what’s inside, and the date you froze it. Masking tape and a marker is the cheapest system ever invented and it beats every app. “Chicken curry — 14 Jan” takes five seconds and saves you from the frozen-mystery-container lottery three months later. If your household has fussy eaters or spice tolerances, add a heat rating or a “mild” note while you’re at it.
Step 5: Freeze fast, don’t overload
A freezer works best when cold air can circulate. Cramming fifteen warm containers in at once raises the temperature of everything already in there and slows freezing for the new batch — slow freezing means larger ice crystals and worse texture. If you’ve done a monster cook-up, freeze in two waves a few hours apart, or spread containers out with gaps between them for the first day.
Containers That Survive an Aussie Summer
You don’t need fancy gear, but the wrong containers will genuinely ruin your efforts. Thin takeaway tubs crack, warp, and let freezer burn in. Here’s what actually holds up:
- Glass containers with locking lids. The gold standard for meal prep. They go from freezer to microwave to table, they don’t stain, and they last for years. Heavier and pricier up front, cheaper per use than replacing cracked plastic every six months.
- Sturdy BPA-free plastic containers. Lighter and cheaper than glass, fine for freezing as long as they’re proper freezer-grade. Look for ones that stack neatly — mismatched lids are the junk drawer of meal prep.
- Heavy-duty freezer bags. Best for soups, stews, sauces and marinated meats. Squeeze the air out, freeze flat, then file them upright. They take up a fraction of the space of rigid containers.
- Silicone muffin trays and Souper Cubes-style trays. Brilliant for freezing portions of sauce, stock, or curry paste in uniform blocks. Pop the blocks out once solid and bag them.
Whatever you use, the test is simple: does the lid seal properly, and can it handle going from freezer to microwave without warping or cracking? If yes, you’re set. Buy one size in bulk rather than a chaotic mix — uniform containers stack, store, and reheat far more sanely.
What about wrapping?
For things like burritos, sausage rolls, or portioned pastry, wrap each piece individually in baking paper or foil before bagging. It stops them freezing into one sad mega-clump and means you can grab a single piece without thawing the lot. Same principle as portioning: freeze in the units you’ll actually use.
Fridge and Freezer Settings When It’s 40 Outside
Your fridge works harder in summer, and “it feels cold” isn’t a measurement. A basic fridge thermometer costs a few dollars at any hardware or kitchen shop, and it’s the only way to know your fridge is actually sitting at 5°C or below — the temperature that keeps perishable food safe. Stick it on the middle shelf and glance at it when you grab the milk.
A few summer-specific settings worth knowing:
- Don’t overstuff the fridge. Cold air needs to circulate. A fridge packed solid after a big prep day can’t hold its temperature evenly, and the stuff in the middle stays warmer than you think.
- Keep the freezer at its standard freezing setting. For most home freezers that’s around −18°C. If your freezer has a “fast freeze” or “super” button, use it for the first 24 hours after loading a big batch, then switch it back.
- Minimise door-open time. Every long stare into the fridge on a 38-degree day lets warm air flood in. Know what you’re grabbing before you open the door — meal prep labelling helps here too.
- Have a backup plan for blackouts. Summer storms knock out power across Australia every year. A freezer kept closed will hold its temperature for hours; every time you open it to check, you shorten that window. If the power’s out for an extended stretch, that’s what the esky and bagged ice are for.
Transporting frozen meals in summer
Taking prepped lunches to work in January? An insulated lunch bag with a frozen water bottle or ice brick keeps things properly cold until smoko. Without one, a container sitting in a hot car or on a sunny desk is warming up from the moment you leave the house. This is one of those tiny habits — bag plus ice brick — that makes the whole system actually work in practice.
Thawing: The Bit Most People Get Wrong
Freezing gets all the attention, but thawing is where most food-safety mistakes happen. The rule is beautifully simple: thaw in the fridge, never on the bench — and in summer, that rule is non-negotiable. A container left on the bench on a 35-degree day warms through far faster than you’d expect, and the outside can sit in the danger zone while the middle is still icy.
The practical routine:
- Move tomorrow’s meals tonight. Before bed, shift the next day’s lunch and dinner from freezer to fridge. Most single portions thaw fully overnight. Make it part of your evening routine, like charging your phone.
- In a hurry? Use cold water. Sealed container or bag in a bowl of cold water, changed every half hour or so, thaws things much faster than the fridge. Never use hot water — it warms the outside while the inside stays frozen.
- Cook some things straight from frozen. Soups, stews, curries and bolognese-style sauces can go straight into a saucepan over low heat. Stir as they loosen up. It’s actually one of the safest methods because there’s no thawing limbo at all.
- Reheat until steaming all the way through. When reheating prepped meals, get them properly hot — steaming throughout, not just warm on the edges. Stir halfway through microwaving to even things out.
- Eat thawed meals promptly. Once something’s thawed in the fridge, eat it within a couple of days. And don’t refreeze thawed meals — plan portions so you don’t need to.
What Freezes Well and What Doesn’t
Not everything survives the freezer equally. Knowing what to batch and what to cook fresh saves you from the disappointment of thawing something that was magnificent fresh and is now… structurally compromised.
| Freezes brilliantly | Freezes okay (with caveats) | Better cooked fresh |
|---|---|---|
| Bolognese, chilli, curries, stews, soups | Cooked rice (slightly drier; sprinkle water when reheating) | Fresh salads and dressed greens |
| Casseroles and braises | Mashed potato (a bit of extra butter helps the texture) | Crispy crumbed or fried foods |
| Marinated raw meats | Pasta bakes (slightly softer; undercook pasta a touch) | Cream-based sauces (can split) |
| Slow-cooker pulled meats | Quiches and frittatas (fine, just slightly denser) | Whole boiled eggs (rubbery) |
| Bliss balls, muffins, banana bread | Roast veg (great in stews; less great solo) | Fresh herbs as garnish |
The pattern: saucy, braised, and baked things freeze like champions. Crisp, creamy, and fresh-crunchy things suffer. Build your freezer stash around the first group and cook the second group fresh through the week.
The Real Cost of Freezing Right
Safe freezing isn’t just good practice — it’s cheap insurance. A set of decent containers pays for itself the first time it saves a batch from freezer burn or a cracked tub. Here’s what a starter setup looks like, with estimated Australian prices:
| Item | Est. price (AUD) | Why it’s worth it |
|---|---|---|
| 10-pack glass containers with locking lids | $35–$50 | Freezer to microwave to table; lasts for years |
| 20-pack freezer-grade plastic containers | $12–$20 | Lightweight option for work lunches |
| Box of heavy-duty freezer bags (30 pack) | $5–$8 | Flat-freezing soups and stews; huge space saver |
| Roll of masking tape + marker | $4–$6 | Labelling system; non-negotiable |
| Fridge thermometer | $5–$10 | Know your fridge is actually at 5°C or below |
| Insulated lunch bag + ice brick | $15–$25 | Safe transport in summer heat |
Prices are estimates and vary by store and brand — check the unit pricing and keep an eye out for catalogue specials at Coles, Woolies, Kmart and Aldi, which regularly discount storage ranges. All up, you’re looking at roughly $75–$120 for a setup that will protect hundreds of dollars’ worth of prepped food.
Want to see what your own batch cooking costs per portion? Plug your ingredients in below.
Australian Meal Prep & Macro Estimator
Pop in your costs in $ AUD and get per-portion cost, macros and storage guidance.
Five Summer Freezing Mistakes to Avoid
Most of these come from good intentions meeting hot weather. Run through the list and see if any sound familiar:
- Cooling the pot on the stove “for a bit” and forgetting it. Set a phone timer when you take food off the heat. In summer, “a bit” becomes three hours very easily.
- Freezing one giant tub instead of portions. You’ll thaw too much, waste food, or be tempted to refreeze. Portion first, every time.
- Skipping the label. You will not remember what it is. Nobody ever does. Two seconds with a marker saves a wasted meal.
- Thawing on the bench “just for an hour”. In a hot kitchen, an hour is plenty for the outer layers to warm up. Fridge-thaw overnight instead.
- Overloading the freezer after a big cook. Warm containers jammed in together freeze slowly and warm their neighbours. Freeze in waves if you’ve cooked a mountain.
Summer meal prep done right is one of the highest-value habits in an Australian kitchen. You cook once, eat well for days, dodge the 6pm takeaway temptation, and keep everything safe through the hottest months of the year. The system above takes no extra time once it’s routine — it’s just cooking with a bit more intention.
Start this weekend: pick one batch recipe, portion it, label it, and freeze it properly. By next week you’ll wonder why you ever did it any other way.
You May Also Like
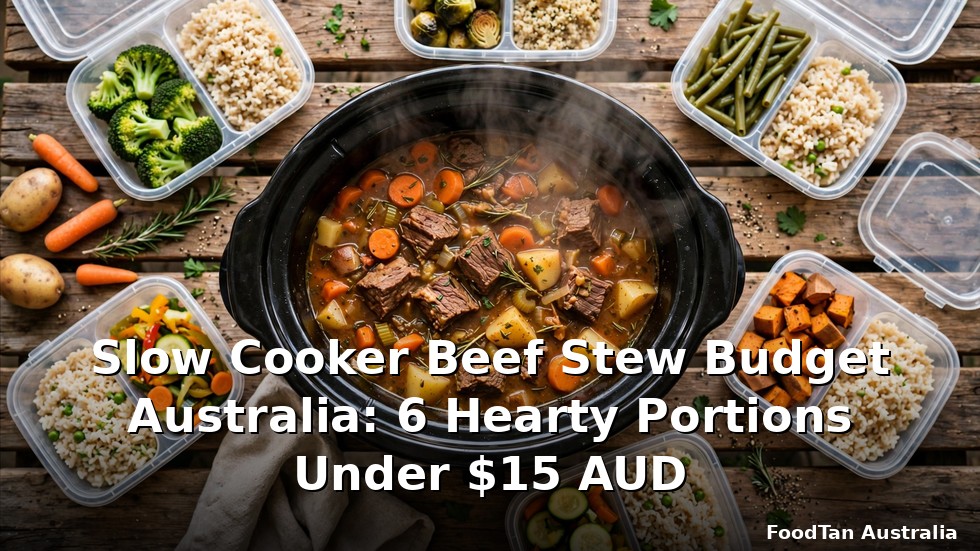
Slow Cooker Beef Stew Budget Australia: 6 Hearty Portions Under $15 AUD
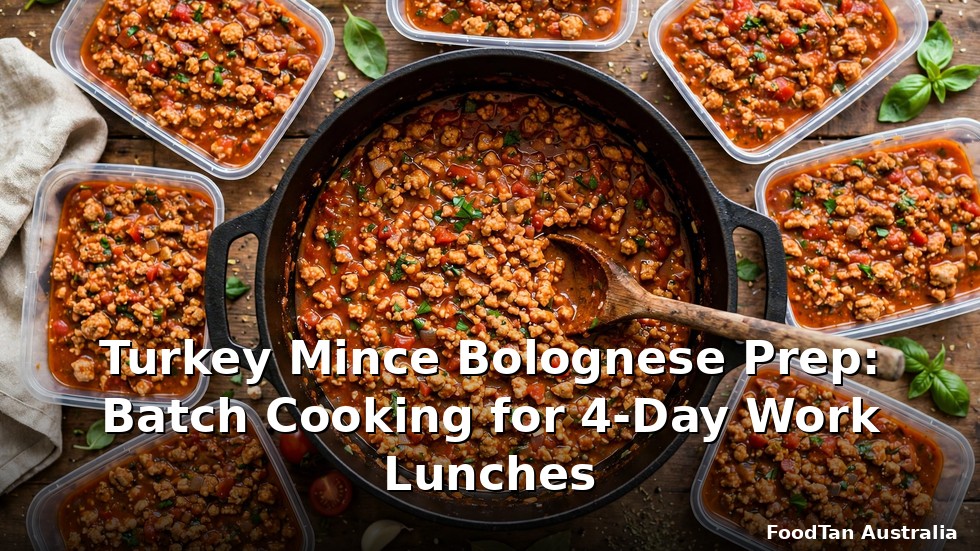
Turkey Mince Bolognese Prep: Batch Cooking for 4-Day Work Lunches