
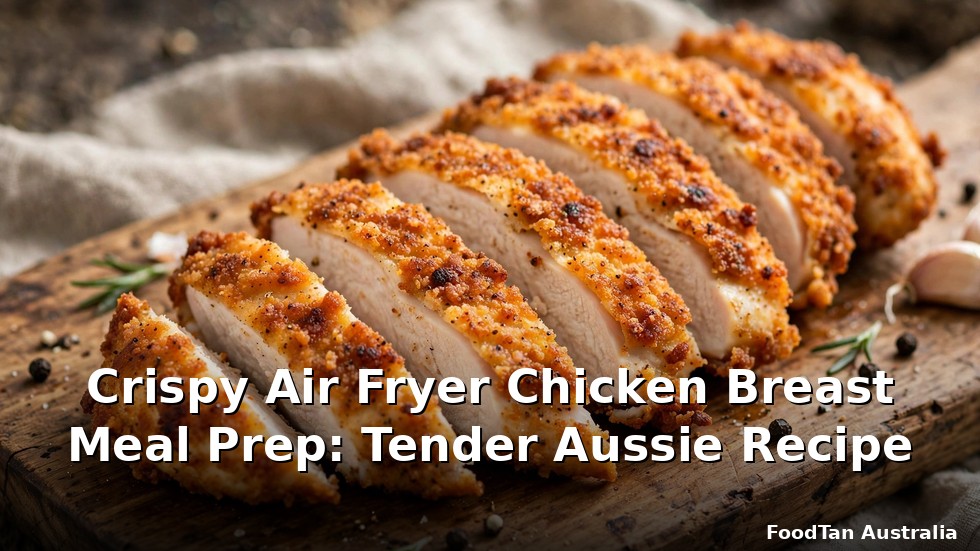
Crispy Air Fryer Chicken Breast Meal Prep: Tender Aussie Recipe
- Brining for 30 minutes and cooking at 190°C is the simplest path to juicy air fryer chicken breast meal prep in Australia.
- Pound breasts to an even 2cm thickness so every fillet cooks at the same rate.
- Rest the chicken for 5 minutes before slicing — this keeps the juices locked in.
- One batch costs roughly $2.20–$2.80 per serve (estimates) and stays fresh for 4 days in the fridge.
- Always reheat to steaming hot (75°C internally) and refrigerate within 2 hours of cooking.
Chicken breast is the backbone of budget meal prep across the country, but it has a reputation problem: cook it badly and you end up with dry, rubbery slabs that nobody looks forward to. The good news is that air fryer chicken breast meal prep in Australia doesn’t have to be like that. With a benchtop air fryer, a quick brine, and the right timing, you can turn out golden, crispy-edged fillets that stay tender for days — the kind of protein you actually want to eat on Thursday.
This guide walks you through the whole process the way an experienced prepper does it: choosing the right breasts at the supermarket, seasoning them for maximum flavour, nailing the cook, and portioning a full week of lunches. We’ll also break down the real cost per serve in AUD (estimates) and give you a timing chart you can stick on the fridge.
Why Air Fryer Chicken Breast Suits Aussie Meal Preppers
A benchtop air fryer is one of the best investments a budget cook can make. It preheats in minutes, cooks faster than a conventional oven, and gives chicken breast that golden, slightly crisped exterior that’s impossible to get from poaching or steaming. Because the cooking chamber is small and the fan circulates hot air aggressively, the outside firms up quickly while the inside stays moist — exactly what lean breast meat needs.
For weekly prep, the air fryer has another advantage: batch size. Most 5–8 litre models fit 3–4 breasts comfortably, which is a full work week’s worth of protein in two short batches. No waiting 20 minutes for a big oven to heat up, no heating the whole kitchen in summer. And because you’re cooking at 190°C for under 20 minutes, the running cost stays low — handy when power prices are climbing.
Buying Chicken Breast: Coles, Woolies & the Local Butcher
You don’t need premium free-range fillets for great results, though they’re lovely when they’re on special. Standard skinless breast fillets from Coles or Woolworths work beautifully. Look for fillets that are similar in size — ideally 180–220g each — because even sizing is the secret to even cooking. Avoid packs where one fillet is twice the size of the others.
Price-wise, skinless chicken breast in Australia typically runs $11–$15 per kilo depending on the store, brand, and whether it’s on special (estimates — check your local catalogue). Buying the larger family packs or the 1kg+ value trays usually brings the per-kilo price down. If your butcher does bulk deals, even better. A kilo of breast yields roughly 700–750g cooked meat, which portions into 4–5 solid meal-prep serves.
One more tip: check the use-by date and plan your cook day accordingly. Chicken breast preps best when cooked 1–2 days after purchase, then eaten within 4 days. If you buy on special and can’t cook straight away, freeze the fillets flat in zip-lock bags and thaw in the fridge overnight before your prep session.
The 30-Minute Brine That Changes Everything
If your air fryer chicken breast always comes out dry, the brine is the fix you’ve been missing. Breast meat is very lean, so it has little margin for error. A simple salt-water brine for 30 minutes seasons the meat all the way through and helps it hold onto moisture during the hot, fast air fryer cook.
For 4 breasts (about 800g), dissolve 2 tablespoons of table salt in 1 litre of cold water in a large bowl. Submerge the fillets, pop the bowl in the fridge, and leave for 30 minutes — no longer than an hour, or the texture can turn a bit spongy. Rinse briefly under cold water, then pat completely dry with paper towel. Dry surface equals better browning, so don’t skip the pat-dry.
No time to brine? A 15-minute dry salt works nearly as well: sprinkle 1 teaspoon of salt per breast over both sides and rest at room temperature while the air fryer preheats. It’s not quite as foolproof, but it’s miles better than seasoning at the last second.
Seasoning for Maximum Flavour on a Budget
Once brined and dried, coat each breast lightly with oil — about 1 teaspoon of olive or rice bran oil per fillet is plenty. The oil helps the seasoning stick and promotes that golden crust. Then season generously. A simple, reliable mix that works across cuisines:
- 1 teaspoon garlic powder
- 1 teaspoon smoked paprika
- ½ teaspoon onion powder
- ½ teaspoon dried oregano or mixed herbs
- ½ teaspoon cracked black pepper
This blend costs cents per batch if you buy herbs and spices from the supermarket home-brand range or an Aldi special. It gives you a savoury, smoky crust that pairs with rice bowls, salads, wraps, and pasta alike. For variety across the week, split your batch: season half with the smoky mix and half with a lemon-herb blend (zest of one lemon, dried thyme, garlic powder) so Thursday’s lunch doesn’t taste exactly like Monday’s.
The Foolproof Air Fryer Method, Step by Step
- Even out the thickness. Place each breast between two sheets of baking paper and pound the thick end gently with a rolling pin or the base of a heavy pan until the whole fillet is roughly 2cm thick. This is the single most important step for juicy results.
- Preheat the air fryer to 190°C for 3–5 minutes. Most benchtop models have a preheat function; if yours doesn’t, just run it empty for a few minutes.
- Arrange in a single layer in the basket, leaving a small gap between fillets for air circulation. Don’t overcrowd — cook in two batches if needed.
- Cook for 8 minutes, then flip each breast with tongs.
- Cook for a further 6–8 minutes, until the thickest part reads 74°C on an instant-read thermometer. If you don’t own one, cut into the thickest fillet — the juices should run clear with no pink flesh.
- Rest for 5 minutes on a warm plate, loosely tented with foil. The internal temperature will rise a degree or two and the juices will redistribute.
- Slice against the grain into 1cm strips for meal prep containers, or leave whole if you prefer.
Air Fryer Chicken Breast Meal Prep Australia: Timing Chart
Chicken breasts vary, so use this chart as your starting point and adjust with a thermometer. Times are for a preheated air fryer at 190°C, flipping once halfway.
| Breast weight | Thickness (pounded) | Total cook time | Notes |
|---|---|---|---|
| 150–180g (small) | ~1.5cm | 12–14 min | Check early; small fillets overcook fast |
| 180–220g (medium) | ~2cm | 14–16 min | The sweet spot for most supermarket packs |
| 220–260g (large) | ~2cm | 16–18 min | Flip at 9 minutes for even browning |
| 260g+ (extra large) | ~2cm | 18–20 min | Consider butterflying very thick fillets |
| From frozen (not recommended) | — | 22–26 min at 180°C | Thaw first for far better texture |
Remember: every air fryer runs a little differently. Compact 3-litre models cook faster than big dual-drawer units. The first time you make this recipe, check 2 minutes early and note your model’s sweet spot — then it’s set-and-forget forever.
Building a Week of Meals Around Your Chicken
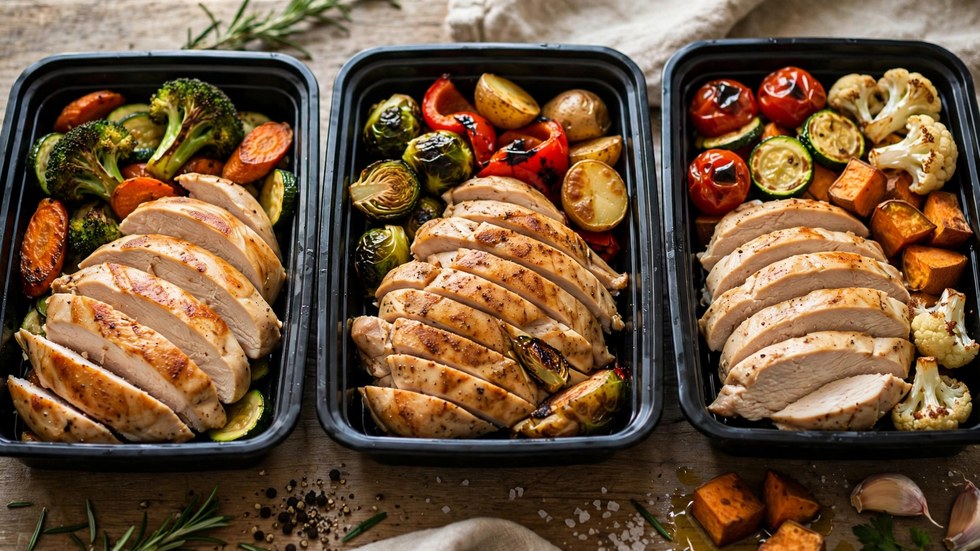
Four cooked breasts give you roughly 700g of sliced meat — enough for 4–5 lunches or dinners when bulked out with cheap, filling bases. Here’s how one batch stretches across a working week:
- Monday & Tuesday: Chicken burrito bowls — sliced breast over microwave brown rice with tinned corn, black beans, and salsa. About $1.50 of extras per bowl (estimates).
- Wednesday: Chicken and roast veggie containers — pair with air fryer roast pumpkin, carrot, and red onion cooked while the chicken rests.
- Thursday: Chicken Caesar-style wraps — shredded breast with cos lettuce, a light Caesar dressing, and a sprinkle of parmesan in large tortillas.
- Friday: Fried rice — dice the last of the chicken and toss through day-old rice with frozen peas, corn, and soy sauce.
Cook a batch of rice or roast a tray of veg while the chicken cooks and your whole week is handled in about 45 minutes of active kitchen time.
Cost Breakdown: What a Batch Really Costs
Here’s an honest per-serve estimate based on typical Australian supermarket prices. Prices move with specials, so treat these as estimates and adjust for your local store.
| Ingredient | Quantity (4-breast batch) | Est. cost (AUD) |
|---|---|---|
| Skinless chicken breast | 800g @ ~$13/kg | $10.40 |
| Salt (brine) | 2 tbsp | $0.10 |
| Olive or rice bran oil | 4 tsp | $0.30 |
| Spices & herbs | ~2 tbsp total | $0.40 |
| Electricity (air fryer, ~25 min) | ~0.5 kWh | $0.15 |
| Total batch | ~4–5 serves | ~$11.35 |
| Per serve | ~$2.30–$2.85 |
Australian Meal Prep & Macro Estimator
Pop in your costs in $ AUD and get per-portion cost, macros and storage guidance.
That’s the protein component of a full meal for under three dollars — compare that with a $14 food-court chicken bowl and the weekly savings add up fast. Run your own numbers in the calculator above using your local prices.
Storage, Reheating & Food Safety
Get the chicken into containers within 2 hours of cooking. Slice or dice it first — smaller pieces cool faster and reheat more evenly. Store in airtight containers in the fridge at or below 4°C and eat within 4 days. If you prepped on Sunday, that covers you through Thursday; cook a fresh mini-batch Thursday night for Friday if needed.
To reheat, microwave until steaming hot all the way through — at least 75°C in the centre. Sprinkle a teaspoon of water over the chicken before microwaving; it creates a little steam that keeps the meat from drying out. Only reheat once. If you’d rather eat it cold in salads or wraps, that’s perfectly fine straight from the fridge.
Freezing works well too. Portion sliced chicken into freezer bags, press flat, and freeze for up to 3 months. Thaw overnight in the fridge — never on the benchtop — and use within 24 hours of thawing.
Signs Your Chicken Has Turned
Trust your nose and eyes: a sour or off smell, slimy texture, or grey/green discolouration means it’s done. When in doubt, throw it out — a $2.50 serve is never worth a bout of food poisoning.
Flavour Variations to Beat Mid-Week Boredom
The method stays the same; only the seasoning changes. Try these budget-friendly twists:
- Peri-peri style: Swap smoked paprika for extra hot paprika, add ½ teaspoon cayenne and a squeeze of lemon after cooking.
- Japanese-inspired: Brush with a mix of soy sauce, a little honey, and grated ginger in the last 3 minutes of cooking.
- Herb and garlic: Double the mixed herbs, add garlic powder, and finish with lemon zest.
- Curry-spiced: Use 1 teaspoon each of ground cumin, coriander, and turmeric with a pinch of chilli flakes — brilliant in wraps with yoghurt.
Whichever variation you choose, the fundamentals don’t change: even thickness, 190°C, flip once, rest before slicing. Master that and you’ll never suffer through dry meal-prep chicken again.
You May Also Like
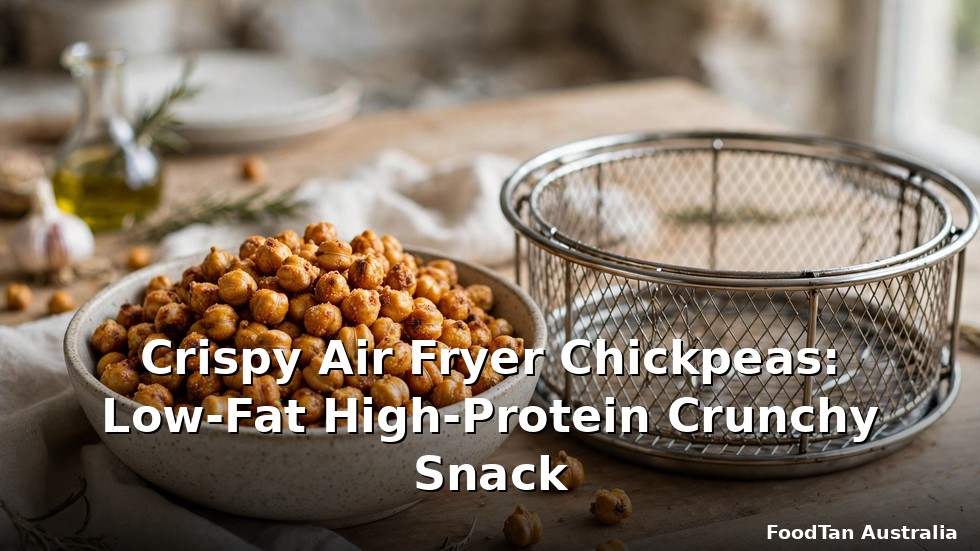
Crispy Air Fryer Chickpeas: Low-Fat High-Protein Crunchy Snack
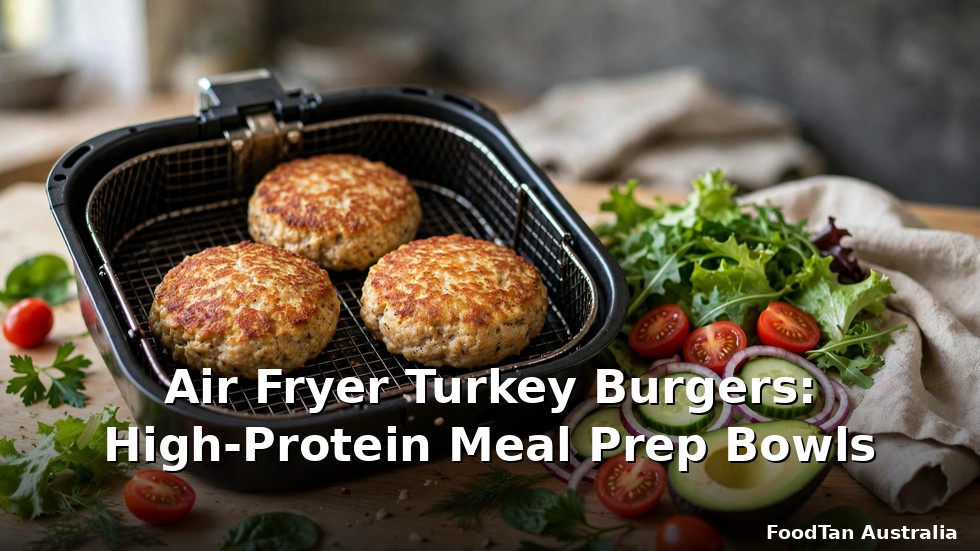
Air Fryer Turkey Burgers: High-Protein Meal Prep Bowls